| |
-
Thanks Carl, sounds about right. I rang InMotion who confirmed it should be:
Rear:
Brake Side = 40mm
Flange = 35mm
Front:
Brake Side = 15mm
Flange = 32mm
So my wheels were pretty close.
I'm going to drop them off with a wheel builder this week, just to be on the safe side!
Cheers
Jon
-
Can anyone supply original spec figures for wheel rim offset for my 198A - not in the manuals as far as I can see? I loosely built up the rear wheel yesterday and couldn't get near the offset I'd measured before I stripped them down, but if the rest of the bike is anything to go by nothing has been very stock!
Wheels are Akront 21" 1.6 - 36T-581 and WM2-1.85" 36-TR-11-78, hubs concentric, new spokes from InMotion and are the same lengths as originals etc. so all stock as far as I can make out.
It could be my lacing at this was a first attempt, but I (thought) I'd done it OK!
-
Looking good!
Do you have spec figures for offset?
I loosely built up my rear wheel yesterday, but couldn't get to near the offset figure that I measured before stripping the wheels down. Problem is if anything else is to go by, nothing has been very stock so far so its difficult what to believe!
-
It’s an old Doherty throttle, but I’ve had to junk it as it just too worn and the sleeve very distorted and shortened. The throttle just wouldn’t snap back. So I’ve fitted a new Amal T80/200 slow action trials throttle. Nice bit of kit! (I initially bought a cheap Domino but couldn’t bring myself to fit it, very plasticky!)
-
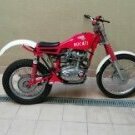
Hi Carl, interesting project you’ve got! I’m new to trials bikes so I thought I’d stay fairly stock, although due to the nature of the sport all the bikes have been modified and alternative components fitted, which is part of their DNA! I guess when I start riding it I’ll find out it’s shortcomings or maybe not being a novice! The build is coming along, just been fiddling around with throttles and cables this week. Next big job is to tackle the wheels, I had a guy lined up to rebuild these but with our current lockdown can’t get over to him. So I thought I’d have a go and can always get him to fine tune them!
-
The engine seemed to run OK'ish so I took off the head and barrel and gave it a check over and all seemed to be well - rings / bore and head etc. So I've cleaned it all up and repainted it, replaced the sprocket, engine bolts and gaskets and a few seals and we'll see how it goes. I've not had a two stroke before so its interesting and relatively simple! My airbox was in a pretty sorry state and all cracked around the inlet flange. But I've managed to salvage it with a bit of plastic welding and some high grade waterproof silicone which I used to glue a strengthening ring inside and pop-riveted the carb rubber hose metal ring to, so it seems pretty solid! The door is still pretty poor fitting though! I'll take some pictures!
-
Looking really good! And have to say your garage is a lot neater (and bigger) than mine! My 198A restro is also coming along.
Taken a while as other than the frame I've done the prep and painting myself, including refurbing the original Falcon shocks which took ages! Currently being frustrated by poorly fitting cables! The throttle my own fault as I ordered a straight pull rather than 90 deg. but found I just couldn't get the solder to flow when I shortened it! But the clutch cable is just too long? So ordered some solder free Venhill nipples to shorten!
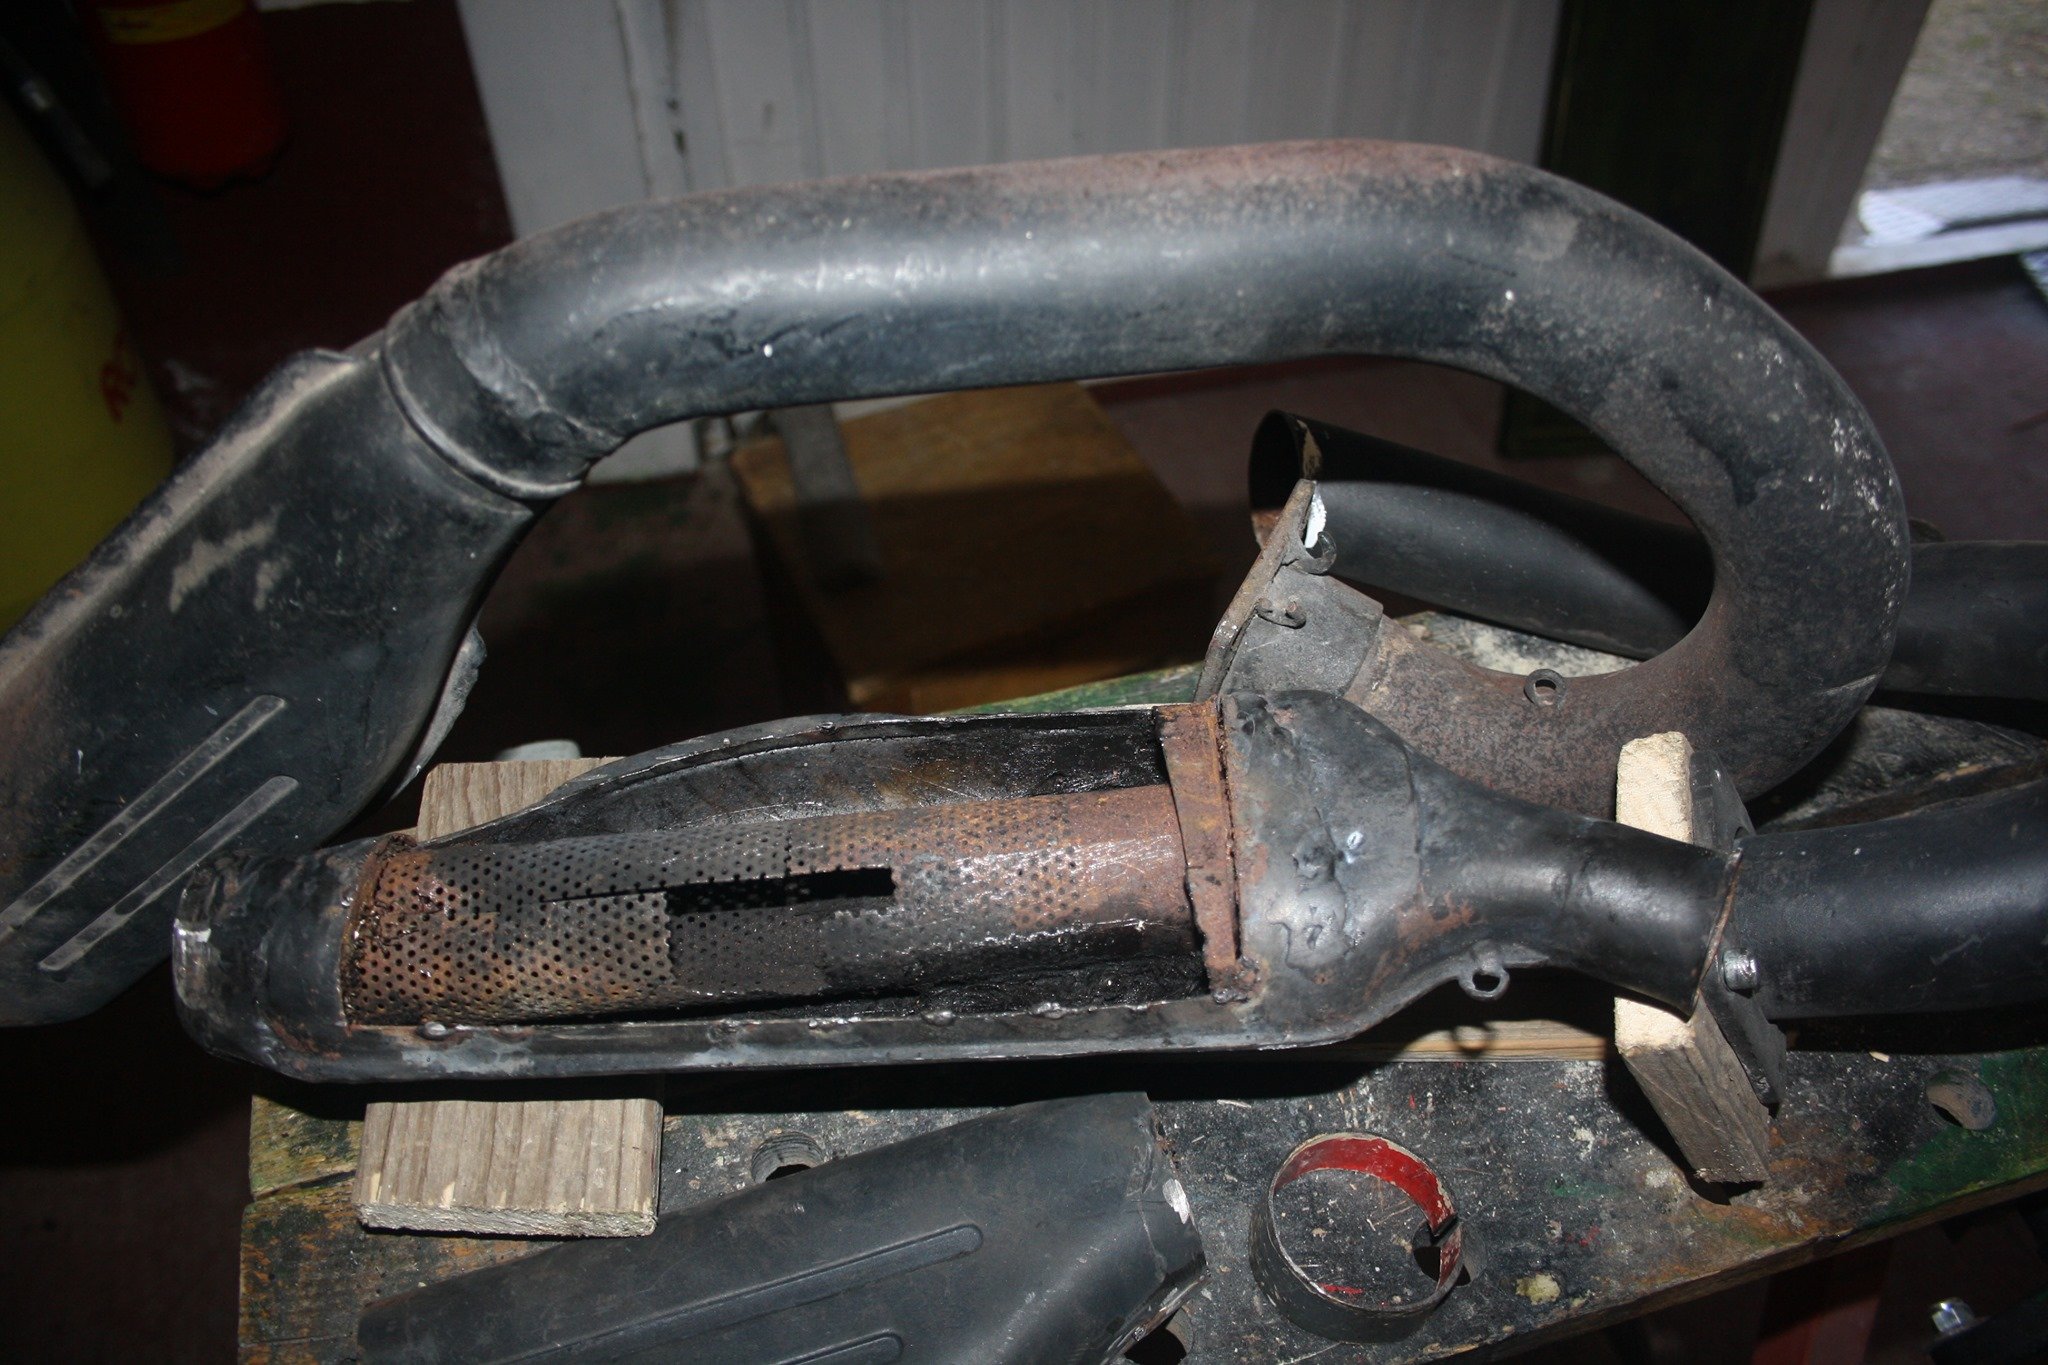
I don't know if you've tackled repacking the silencers? After research I took the plunge and opened them up with a dremmel and they were certainly very gunged up and so cleaned and repacked. As I don't have a welder I replated with 2mm ally and pop-riveted after sealing with copper silicone. Will enable future fiddling if required and when painted looks OK, even though I elected to open the mid-silencer on the visible side rather than compromise the integrity of the bracket etc.
Its all good fun and interesting to see yours! Going to try lacing the wheels next as I can't get to the man I had lined up due to lockdown. I can always take them to sort out and true if I struggle!
Cheers Jon
-
Thanks Carl, good info. I agree a clearance of 0.5-1 mm seems about right, makes fitting swing arm possible without resorting to rubber mallet and allows the spindle nut be tightened without affecting swing arm movement!
My 198A frame was in a pretty sorry state with chips and rust and had at sometime been painted very badly in grey paint of some description, obviously with the bike fully assembled as there were drips all over the shocks and wheels etc! Its obviously been well used!
-
Thanks Woody, fundamentally all of the issues you mentioned plus one of the swing arm tubes itself was not absolutely parallel. Not sure if it was built that way or had suffered a knock at some time. The powder coating was quite thick making fitting the swing arm difficult - but it was tight when I removed it. So to get some clearance I sanded off the powder around the holes, filled and squared off the swing arm ends and used emery cloth on the alloy bushes to get a nice smooth fit as the nylon was pinching when pushed into the arms. Net result easier to fit and just the right amount of friction when all tightened up! So result! Thanks for the advice!
Wheel building next!
?
-
Hi, the rebuild of my Sherpa 198A is progressing 'well' but I have a question on what is the expected / acceptable swing arm free-play and 'stiffness'. I have replaced the nylon/alloy swing arm bearings and spindle with new items, but find that with the newly powder coated frame and new replacement rear engine mount (all from In Motion) its all a very tight fit - requiring the rubber mallet persuader to fit! The result is that although nice and smooth, the swing arm does not freely move under its own weight (a rough measure I've used on road bikes with needle bearings) but requires some force (approximately a 1kg weight placed on swing arm) to move even without the swing arm spindle nut tightened. It has to be said, the resistance is very similar to that when I stripped the bike down but I'd put this down to worn components etc.
I've no experience of the nylon/alloy bearings and whether these will ease with use, but these themselves did tighten after being driven into the (clean) swing arm which will account for some of the resistance. But it has to be said longitudinally with the powder coating there is no free play between swing arm bearings and frame even before the nut is tightened etc. incidentally i couldn't find a torque setting for the nut as the manual just says 'tighten', but obviously the tighter it goes the stiffer the swing arm gets.
Before I strip it all back down and take grinder to the lovely powder coating and possibly wet and dry to the bearings, could any one advise on what is acceptable resistance from their experience as I can't find any info in the manuals? Unfortunately I don't have a wheel built up to fit to gauge the effect of the increased weight etc. but it does not seem quite right to me!
Thanks as always!
-
Thanks, everyone good advice and much appreciated. I think 11/42 sounds favourite!
-
Advice please, the Sherpa 198A I'm refurbishing currently has 12T front and 40T rear sprockets that are very worn and to be replaced. I didn't get chance to ride the bike before stripping down, so is this a reasonable ratio for a complete novice rider? ⚙️
Cheers!
-
Morning Chappo, scouring the forums I picked up that you had repacked Bultaco exhausts by opening them up etc. I think I need to do the same as mine are untouched. Before a plough in with the Dremel, do you have any photos or drawings as guidance? Would I be right in saying it is the front box, and the upright section of the rear as the square end section has just baffles and doesn't contain wadding? Not having welding facility, I was thinking of riveting a plate over the holes?
Thanks for help!
-
Thanks Lorenzo & sherpa325, I'll add one to the growing list of new bits required!
-
Continuing the Sherpa 198a strip down last night highlighted a couple more things!
Both of the 19mm bolts securing the rear (cast) engine mount bracket were tight (didn't check torque), but there was some play allowing the engine to move slightly i.e. being cast the bracket wasn't a tight fit to the engine mounting lugs. I didn't want to tightened further due to risk of fracturing the bracket. Is this play normal or possible due to wear?
Exhaust. Both silences are dirty, rusty and oily but externally fundamentally sound. Theres no indication (ie. welding) that they've ever been opened up and repacked, so can only assume they are as original and so will probably be pretty gunged up. I've had a look through the past posts and repacking seems to be the advice, but how do you do this? Unfortunately, I don't have a welder so if I opened them up to change wadding, has anyone tried riveting a sheet metal cover on the 'unseen' side etc.
Cheers thanks for help!
-
Continuing the Sherpa 198a strip down last night highlighted a couple more things!
Both of the 19mm bolts securing the rear cast engine mount bracket were tight, but there was some play allowing the engine to move slightly i.e. being cast the bracket wasn't a tight interference fit to the engine mounting lugs and probably shouldn't be tightened further without risk of fracturing the bracket. Is this normal?
Exhaust. Both silences are dirty, rusty and oily but fundamentally sound. Theres no indication (ie. welding) that they've ever been opened up and repacked, so can only assume they are as original and will be pretty gunged up. I've had a look through the past posts and repacking seems to be the advice, but how do you do this? Unfortunately I don't have a welder so can you say rivet a window on the rear side etc.
Cheers thanks for help!
Jon
-
Thanks both, I'll take you advice and stick with chrome and get in touch with Villers.
-
Thanks Johnjsy, confirmed what I suspected re. chrome lining. and thanks for advice wrt. condenser and controls. I guess back brake is most important wrt trials but it might be worth getting engineering work done on front and liner fitted on front before I get wheels rebuilt, have you any contacts for companies who can do this?
Thanks again!
-
Hi, sorry new to Bultacos so I've loads of questions as I strip down my newly acquired Sherpa 198A!
My front drum is the 'standard' chrome finish, it is in 'reasonable' condition with a few pits and marks. However, the rear drum appears to have had a steel ring inserted at some point which (possibly due to being unused for years) is dull. Was this a standard modification when chrome wore and/or to improved braking effect? It worked on quick test ride but I've no experience of brakes effectiveness (pedal is on left and rod connected which I understand is more effective than swapping to right with cable).
Are ring inserts available for the front drum?
And (for now) can anybody advise the correct or preferable brake/clutch levers and throttle for this model. Currently fitted with black 'nylon' levers (branded Impac) and a Doherty throttle which is probably salvageable!
Cheers!
-
Hi, rebuilding a Bultaco Sherpa. Rims and hubs are good but would like to get them respoked. Could anyone recommend a wheel builder in Lancashire / NW area?
Cheers
-
Nice! I acquired my 198a on Friday and it’s now in bits! Frame originally blue but at some time hand painted grey, but chipped and needs doing. Was thinking of paint as I didn’t think you could get powder in RAL numbers, so will look into that. Tank is probably my biggest problem, alloy but at sometime took a very heavy hit to one side so will need a lot of work. Given that you can get a new plastic one for £200 (admittedly not with ethanol proof stickers) may go that way if too expensive!
-
Hi all, waiting for delivery of my Bultaco Sherpa 198a. Cosmetically challenged but running and road registered. New to trials but have done a session some years ago at Inch Perfect and fancy having a go! Already learned loads from the forum but no doubt will be bugging you all with questions as I’ll probably get carried away and end up restoring (and improving) the bike!
|
|