SherToPina
Members
-
Joined
-
Last visited
-
Hello redandwhitebri, Were you able to solve your Alpina 350 M116 lighting/wiring/coil problem since November? I have an Alpina 350 M213 with similar brake light problem, and would be interested in what was discovered, and how it was fixed. Cheers, Gabe
-
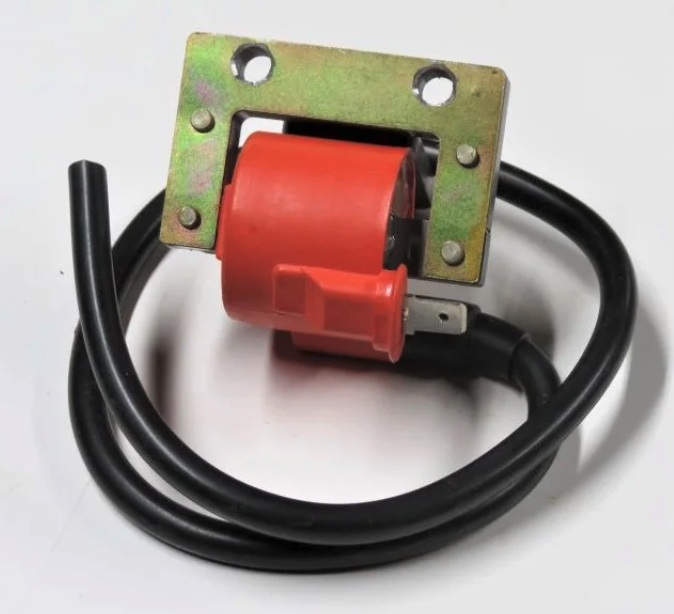
faussy's suggestion is spot on, and can be a lot more robust and easier than my suggestion of a repair at the failure site. (Seal off the exposed broken wire at the CDI with non conductive epoxy or RTV.) Grounding (earthing) the mag-coil power-in spade terminal will kill the spark. Remove the female spade terminal wire from the HT coil and cut off the female terminal. Strip the end of the Power Wire, and strip the end of the Kill Wire. Twist the wires together and crimp into a fresh female spade terminal. This repair is very robust, permanant, and is good enough for flight (I mean stop).
-
It is my first post, I just joined a couple days ago looking for a Bultaco M213 Alpina Owners Manual. bullylover is helping me out. Read my story in my profile. My tips come from being a retired aerospace engineer, mind you the repair I described would NOT fly, but failure analysis, and "failure is not an option" are inbred... Cheers Gabe
-
Your repair options are limited, so craftsmanship in the repair will count. Can you pick at the epoxy or plastic around the broken wire with sharp pick or blade? If so try to make a pocket around the repair area. Get a piece of tin coated copper buss wire (or cut the lead off a resistor or cap) at an angle to make a sharp point, Jab this solid copper wire into the center of the broken wire strands using needle nose pliers for a firm straight push. With a clean (wipe on wet paper or sponge) soldering iron wet the tip with solder and apply to the joint. Add a tiny amount of solder as needed, you just want to anchor your work. Do this very quickly so as to avoid heat damage down the wire into the CDI. Slide a 1" long piece of heat shrink tubing way up onto your kill wire. With about a 1/4" of new stub exposed, apply your kill wire over the stub, and again quickly solder the butt-splice, trying to avoid melting the base joint you just prepared. Now slide the heat shrink tubing down over the repair and shrink it as you push the tube against the base. Using the pocket you dug, apply non-conductive epoxy around your repair creating a nice fillet for support. Try to fasten down the kill wire, with a slight bend for some flexibility, near the repair. Should be good to go (and stop!).